This FAQ contains instructions on how to create a new list and add members to a list.
Lists are a great way to manage members of your Skype Manager. You can easily allocate Skype Credit, assign features and monitor Skype usage for individual lists. For example, you may want to categorize your members according to the department they belong to within your group: Marketing, Human Resources, Engineering, and so on.
Creating a new list
To create a list:
- Sign in to Skype Manager.
- Click Members from your Skype Manager Dashboard to display the All members page.
- In the Members menu on the left, click Create a list to display the Create new list window.
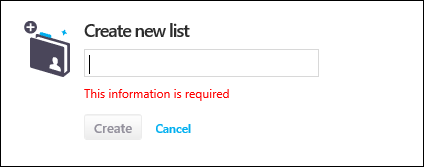
- Enter the list name and click Create.
Adding members to a list
To add one or more members to a list:
- Sign in to Skype Manager.
- Click Members from your Skype Manager Dashboard to display the All members page.
- Check the box next to each member that you want to add to a list. When you select a member, the option for adding members to a list is automatically displayed.
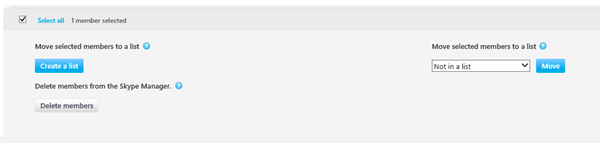
- In the Move selected members to a list drop-down options, select the list you wish to add the selected members to.
If you don’t want a member to belong to any list, select Not in a list from the drop-down options.
- Click Move.
